Author Topic: Rigid Paughco Rubbermount Sportster Frame Build  (Read 39408 times)

0 Members and 2 Guests are viewing this topic.

Dennis

  • Club Member
  • *****
  • Posts: 1726
    • View Profile
Re: Rigid Paughco Rubbermount Sportster Frame Build
« Reply #30 on: April 05, 2015, 02:41:00 PM »
The belt guard was the last of the fabrication.


All fininished


This gap is a bit ugly.  The channel was original where the shock would have gone, so you can see how much wider the panniers are from stock.  Oh, well.  I am keeping to the theme of maximizing the donor bike parts, and the panniers came with the pile.


And with a plate ...


Peace & Grease, Dennis


Dennis

  • Club Member
  • *****
  • Posts: 1726
    • View Profile
Re: Rigid Paughco Rubbermount Sportster Frame Build
« Reply #31 on: April 05, 2015, 10:45:58 PM »
I thought it might be wise to do a bit more mock up. This is with the windshield, heat guards and everything else on the right hand side all fitted into place.


Then I decided to make sure everything on the left side was finished as well, and discovered the kick stand still needs some tweeking.  I need to fabricate something to keep it about an inch from the frame.  Dang, and I just cleaned up all my fab mess and tools.  Oh well, there's another day in the four day long weekend.


Peace & Grease, Dennis
« Last Edit: April 06, 2015, 10:34:39 AM by Dennis »

Dennis

  • Club Member
  • *****
  • Posts: 1726
    • View Profile
Re: Rigid Paughco Rubbermount Sportster Frame Build
« Reply #32 on: April 12, 2015, 10:20:30 PM »
I got it disassembled.  There is quite a bit of work needed on the frame now that the engine is out. 


The pink bike in the background is my new (to me) 1992 XT350 Yamaha.  I took it for quite the off road ride this afternoon.   The Chang is running crappy, and I haven't taken the time to fart around with it, so the XT350 will be my ride for awhile.


Peace & Grease, Dennis

Dennis

  • Club Member
  • *****
  • Posts: 1726
    • View Profile
Re: Rigid Paughco Rubbermount Sportster Frame Build
« Reply #33 on: April 21, 2015, 01:54:44 PM »
Decals with Stuntman Fubar. Check.
Rack and small bits at RCJ Powder Coating. Check
Frame prepped for Bondo and paint. Not quite, another hour or so needed.
List of odd bits from Harley Davidson.  List done, need to order.
Enthusiasm. Floods and ebbs depending on the weather and things I'd rather be doing.  Need to keep momentum for the next phase; assembling.

Peace & Grease, Dennis

Dennis

  • Club Member
  • *****
  • Posts: 1726
    • View Profile
Re: Rigid Paughco Rubbermount Sportster Frame Build
« Reply #34 on: April 26, 2015, 06:39:42 PM »
Prepping a frame for painting is a ton of work.   After filing and sanding all week interspersed by some Bondo and primer, the frame got a rattle can semi-gloss paint job while the sun was still shining today.  By the time I took this picture, it was gloomy overcast and cold.


Peace & Paint, Dennis

Dennis

  • Club Member
  • *****
  • Posts: 1726
    • View Profile
Re: Rigid Paughco Rubbermount Sportster Frame Build
« Reply #35 on: April 28, 2015, 04:31:59 PM »
I got the rack and parts back from RCJ Powder Coating.  Powder coating doesn't fill like Bondo, but it does smooth out a lot of blemishes.  The rack looks great.

I took a long second look at my frame.  I am not trying to hide the welds, I just wanted them smoothed a bit.  I looked very closely in the bright sunshine this afternoon, and realized I still needed a few more coats of paint.  I then considered that when the bike passes inspection (counting chickens before they're hatched) the VIN plate will be riveted to the frame, and future painting will need to be around that plate.  I then considered that I blew $300 for two pieces of chrome plating.  I recently sold and bike and have some cash.  This is my biggest ($$$) build to date.  After much humming and hawing, I said "screw it" and took the frame to RCJ Powder Coating. 

My week of Bondoing, priming and sanding (including much of the weekend) will be blown away in a few minutes of sand blasting.

Stuntman says he's ready to put on my decals and wants my input.   

ICBC says it takes about a week for the application for a VIN to be made, and when they send the VIN plate to the vehicle inspector.  I plan to use Mark at Excalibur.  The application requires the bike to be completed and include pictures.  Can't do it yet.  I have less than two months before the Father's Day Show 'n Shine, but at least I am not counting days or hours .... yet.

Peace & Grease, Dennis

Dennis

  • Club Member
  • *****
  • Posts: 1726
    • View Profile
Re: Rigid Paughco Rubbermount Sportster Frame Build
« Reply #36 on: May 13, 2015, 12:40:56 PM »
The reason to use cheap rattle can paint for a frame for a first build is so any errors in the fabrication can be corrected and you won't cry about your paint job.  I did not follow this sage advice; I powder coated my frame because I was sure I had "nailed it."

With the help of some Club members, the front end got put on the frame and the whole thing back in the rack.  Almost immediately when it was together, Guy says "where's your fork stop."

Oops.  Forgot to weld that in. 


Lots of good suggestions on what to do, but I am going to take my time before deciding.   The tank is far enough aft that even with the forks turned super sharp, nothing is going hit the tank. 

Peace & Grease, Dennis

Hans

  • Club Member
  • *****
  • Posts: 1330
    • View Profile
Re: Rigid Paughco Rubbermount Sportster Frame Build
« Reply #37 on: May 13, 2015, 10:55:55 PM »
I live with fear and danger everyday, but sometimes I leave her at home and go motorcycling.

Dennis

  • Club Member
  • *****
  • Posts: 1726
    • View Profile
Re: Rigid Paughco Rubbermount Sportster Frame Build
« Reply #38 on: May 14, 2015, 12:30:58 PM »
That looks like a very viable option. 

Thanks.  I guess I should look around on the web also.  I can't be the first person who has done this.

I phoned the manufacturer directly (number on pdf instructions).  Should work no problem.  I may just have to shop around though.

Peace & Grease, Dennis

POST SCRIPT: I went by Xcaliber.  Their supplier Drag Specialties caries it.  I ordered one.  I guess I will need to fill the beer fridge for another evening of help.  Date to be announced.  It will have to be a two phase job though because I don't think I'd trust myself to drill and tap the necessary holes since they will be so close to the steering stem.  I'll need some professional help when the time comes.

See attached pdf of the instructions.
« Last Edit: May 14, 2015, 01:24:37 PM by Dennis »

Dennis

  • Club Member
  • *****
  • Posts: 1726
    • View Profile
Re: Rigid Paughco Rubbermount Sportster Frame Build
« Reply #39 on: May 28, 2015, 11:59:14 PM »
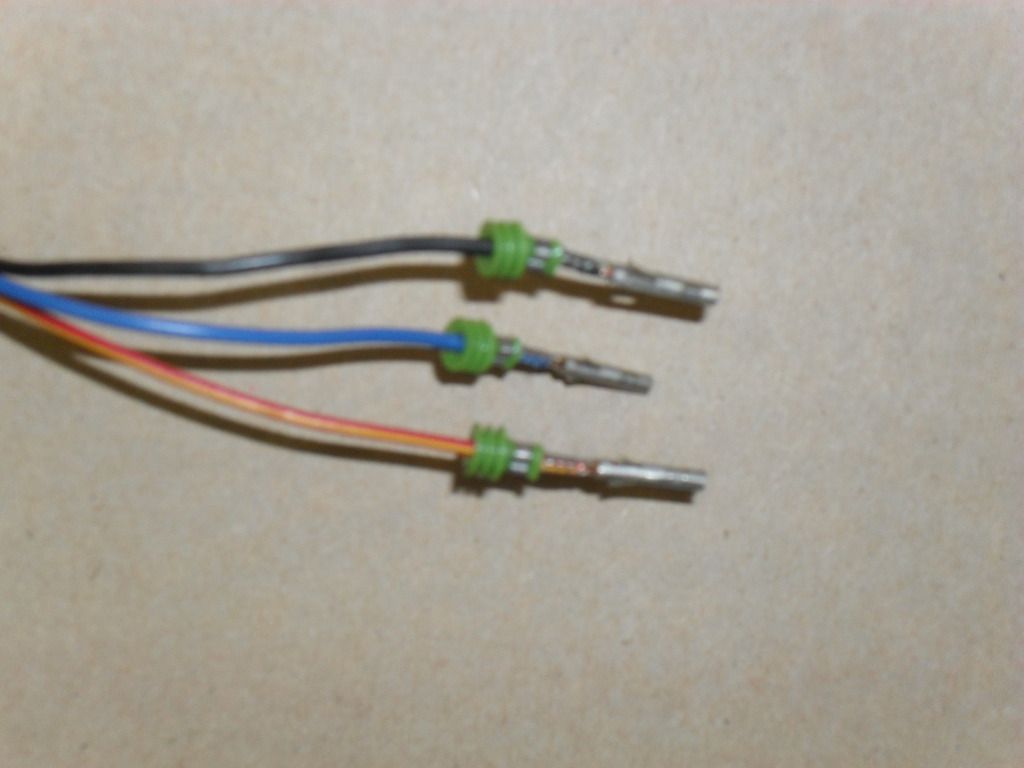
Wiring is complete.  Some photos of the prepping the wires for the weather guard connector for the rear brake light.


After the brake light was installed I went to test it.  The light was super bright and the brake light didn't seem to work.  I quickly realized that both the tail light and brake light were on ... without putting on the brake.  I re-examined all my wiring realized the front hand brake switch was stuck "on".  This made no sense.  A quick look of the factory manual and there was a bold warning about putting the brake and throttle control on the handle bar, and how to avoid damaging the switch.  Or course I read that after I broke the switch.  A small plastic plunger was broken off.  I disassembled it, used some Crazy Glu and put back together.  Wasted most of a Saturday.


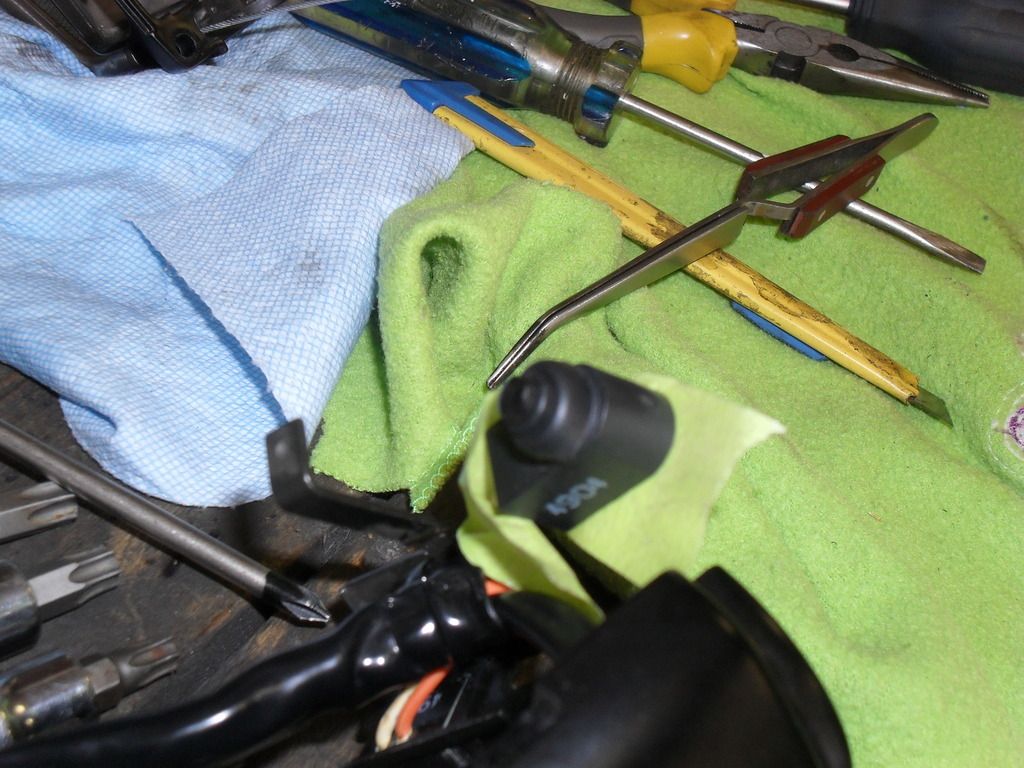
I love this Velcro tape.  The entire wiring is wrapped with it, and then electrical tape over top.  This way, I can cut into it anywhere if I need to, and there won't be tape goo all over the wire.


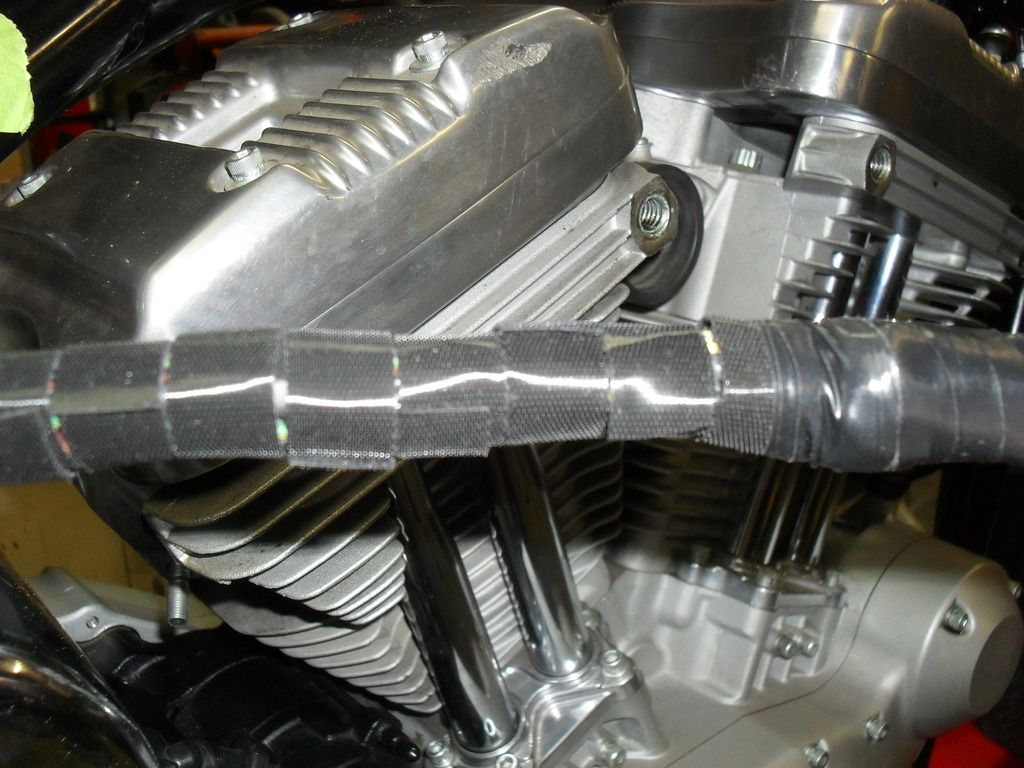
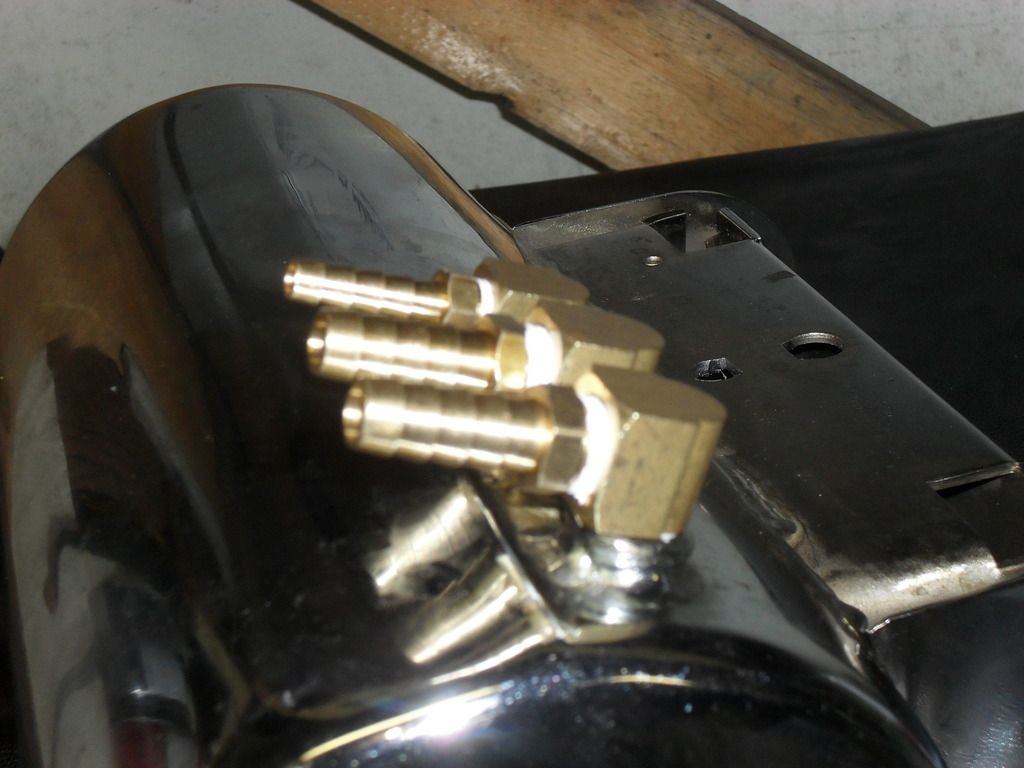
Oil lines.  There are fancier ways of doing this, but I like the look of these.  More industrial.
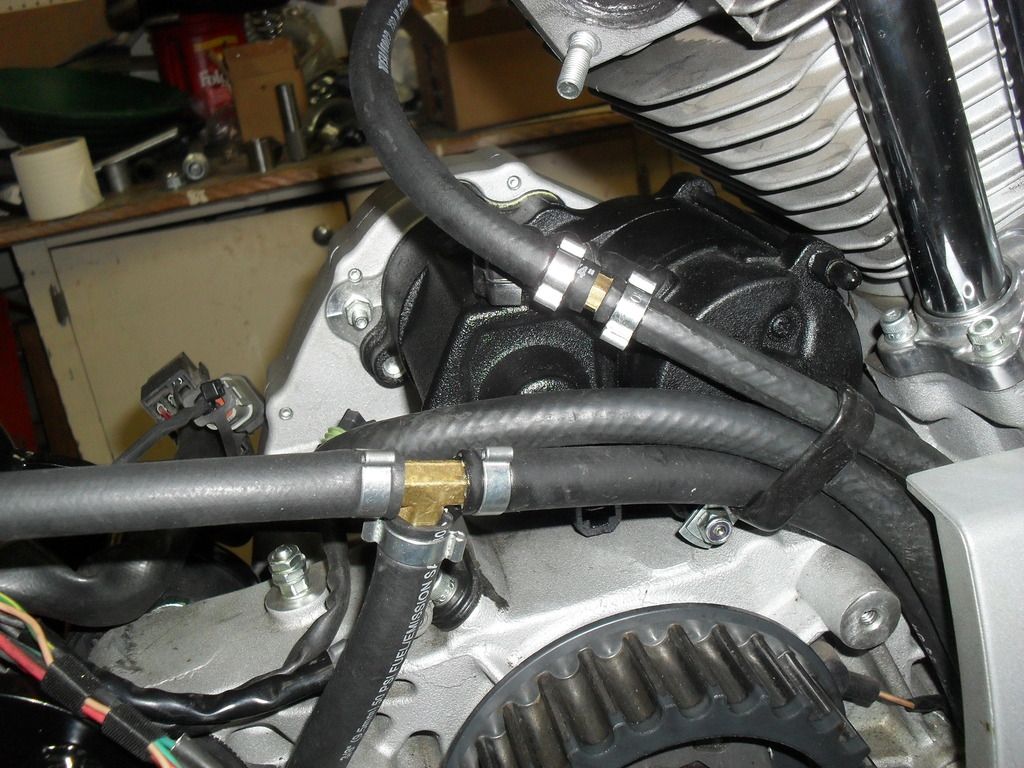
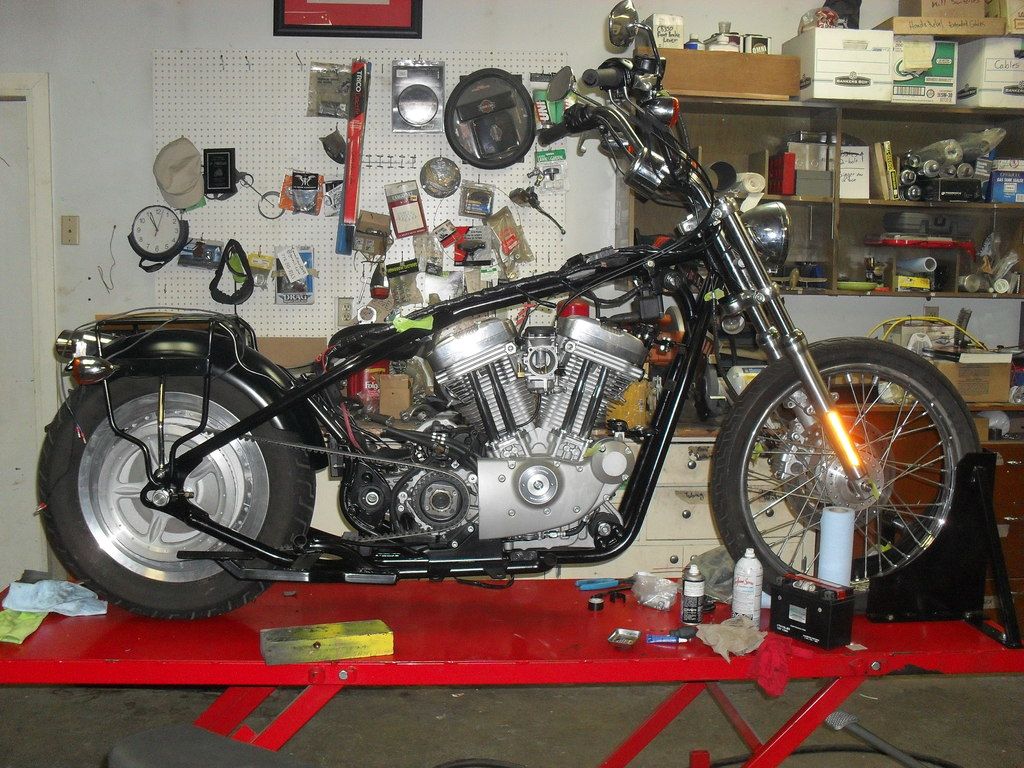


Coming along ....


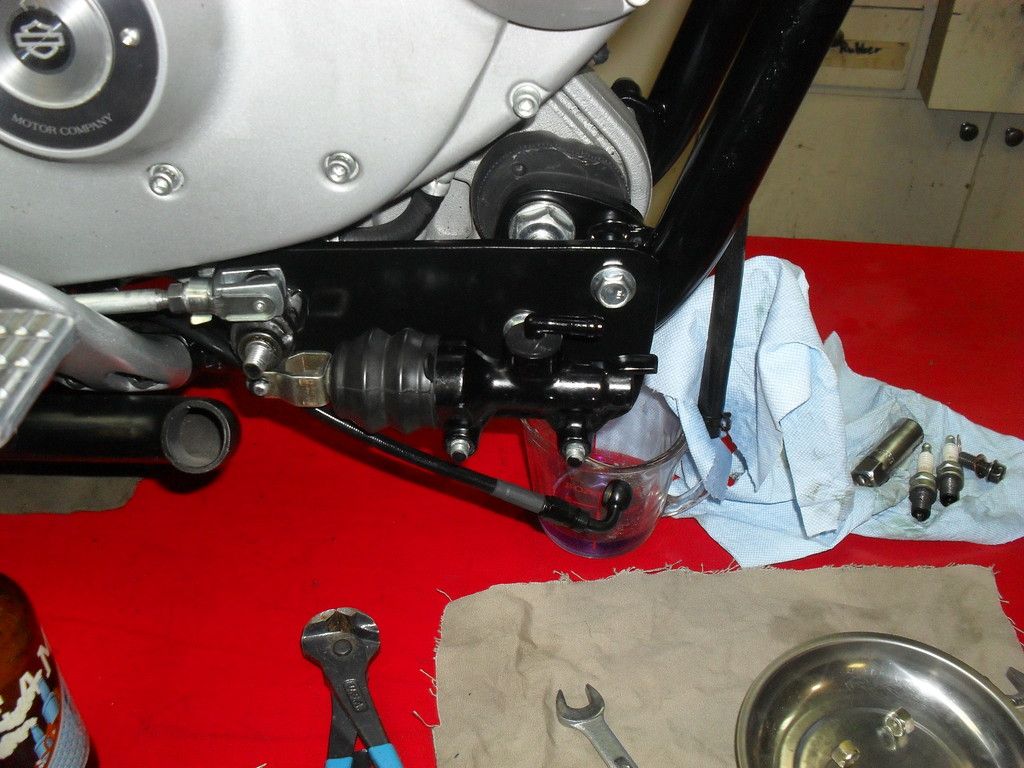
I went to bleed the brakes.  No fluid was coming out.,, even right at the outlet of the master cylinder.   Brad helped me take apart the master cylinder and re-assemble it with one part purposefully not put back in.  The master cylinder would then push fluid, but I could not get the lines bled.  I have since bought a rebuild kit but have not put it in yet.  This is an interesting problem.  The master cylinder did not work at all ... zero ... nothing.  We removed what I can only describe as a second spring loaded piston (making it like every other master cylinder I have ever taken apart) and it appears it push fluid just fine.   I will re-assemble the master cylinder with the new kit and try bleeding again.


Not working on it this weekend.  I'm going camping.

Peace & Grease, Dennis

Dennis

  • Club Member
  • *****
  • Posts: 1726
    • View Profile
Re: Rigid Paughco Rubbermount Sportster Frame Build
« Reply #40 on: June 02, 2015, 01:04:55 PM »
Wayne offered to help with the rear brake so I took him up on it.  With barely a half hour notice, he came by and spent the evening until we had it working.  Despite the low mileage, it turns out that the rebuild kit was needed.  We only did that after a couple hours of working with the defective one.  Brad helped also.

Thanks again. 

Peace & Grease, Dennis

Dennis

  • Club Member
  • *****
  • Posts: 1726
    • View Profile
Re: Rigid Paughco Rubbermount Sportster Frame Build
« Reply #41 on: June 07, 2015, 10:47:32 PM »
IT RUNS.

Friday night I took the plunge.  Up until that point, I had never tested the ignition to see if it actually would spark, and had never tested the starter motor to see if it would turn the engine over.  A few blips with the plugs out but grounded confirmed both of the above.  I hooked up my external gas tank and gave it a whirl.  It started right up.


After a bit of running, I noticed some light brown powder forming on the oil tank near the rear exhaust.  My first thought was somehow the new exhaust gasket was being blown slowly apart.  Then I found a pile of it under the bike.  Turns out its residue abrasive sand from the powdercoat job.  There are two openings to the frame tubes and now that engine has vibrated a bit, its working its way out. 


I couldn't resist some inspirational mock up.


And of course, the most important finishing touch.


The following are the photos I have to print and take to the insurers tomorrow to be sent of with my application for a VIN plate to be sent to the vehicle inspector.  I am going to use Mark at Excalibur.  HUB says it takes a week for him to get it.  If Mark gets it next week, I will still have some days to get it approved and licensed before the Father's Day Show 'n Shine.


Peace & Grease, Dennis

stevecrout

  • Club Member
  • *****
  • Posts: 345
    • View Profile
Re: Rigid Paughco Rubbermount Sportster Frame Build
« Reply #42 on: June 08, 2015, 04:04:03 AM »
Dennis -  this should be an inspiration for anyone considering a bobber or modified bike.  Well Done!
Why be normal?

Sr.X

  • Forum Member
  • *
  • Posts: 246
    • View Profile
Re: Rigid Paughco Rubbermount Sportster Frame Build
« Reply #43 on: June 08, 2015, 05:55:56 AM »
Looking good Dennis.


Bob

madmac74

  • Guest
Re: Rigid Paughco Rubbermount Sportster Frame Build
« Reply #44 on: June 09, 2015, 10:09:16 PM »
 looks real sharp ! can't wait to have it on the rides

Mac 8)