I thought some members might want to see some pictures of using a POR 15 gas tank repair kit. The instructions are very good and they not only explain what to do, but they explain why.
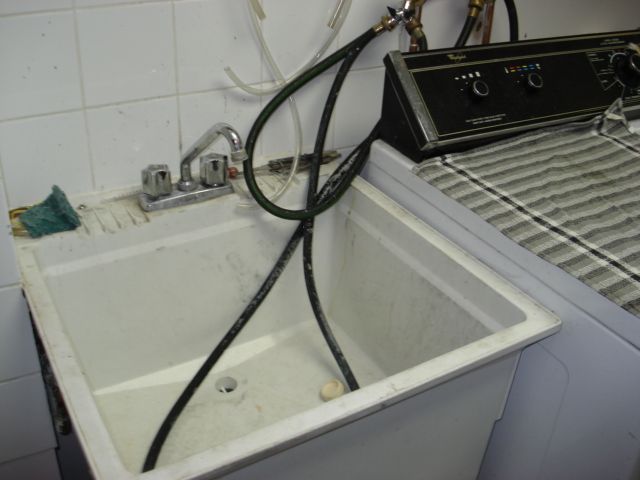
The process is basically threefold; clean, etch and coat. What isn't apparent until you start going through the process is that you need access to lots of hot water. While using the dishwasher to clean engine cases will always meet with resistance from your spouse, access to the laundry sink is a must and probably will not leave you sleeping in the garage. I have a hose hooked up to the hot water (for brewing) which helps a lot.
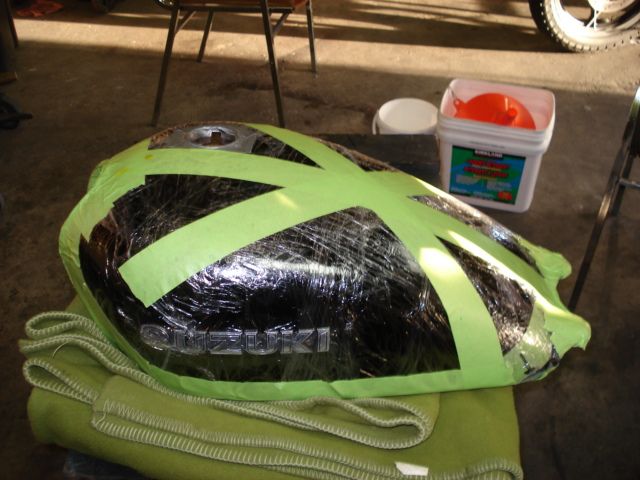
The exterior of the tank needs to be protected. This instructions say to wrap it with rags, but I used plastic wrap and tape. I sealed it tight around the filling hole, and put duct tape over the petcock hole. This worked well, but a small amount of moisture did seep in between the paint and the plastic. Another assault on Stuntman's paint job, but some mildly abrasive polish cleaned it up nice later.
Before the final sealant goop goes in, the tank must be absolutely dry. This tank cannot be simply tipped and emptied. There is a lip at the filling hole which prevents all the fluid draining when upside down. There is a large and convoluted tunnel which also trapped fluid. I did the google/you tube thing and saw where some guy made swabs on stiff wire to dab up water. This was an excellent idea, and I would not even try doing one of these kits without making up some swabs. No matter how much hot air I used and shimmied and shaked the tank, I could still hear a small splashing sound. With the swabs, you position the tank so that all of the fluid will flow to one point, and then carefully dab out all of the fluid. The first few swabs (after much air and shaking) came out soaked. Once the swabs were coming out dry, I then blasted the tank with the heat gun until I could barely hold it. I let it cool down and repeated the process a couple more times.
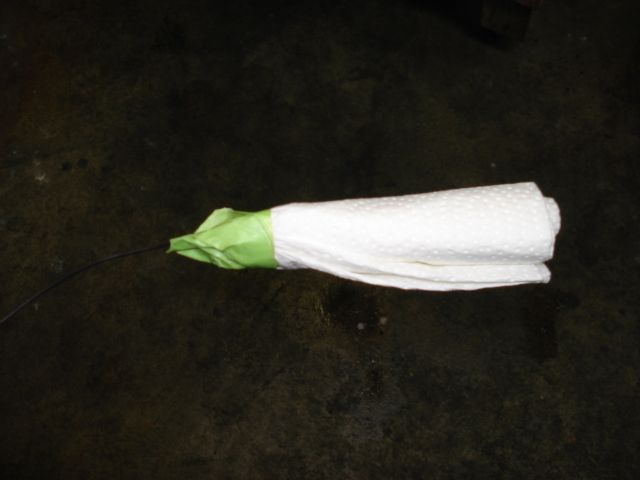
The swabs are just paper towel wrapped around iron wire.
I hope this was informative. The job took about 6 hours from start to finish. A lot of that was for the drying time.
Peace & Grease, Dennis


